Image Optimization Hacks 101
Images are vital in today’s digital world for drawing in and holding the interest of your audience. Optimizing photos on your website, social media accounts, or online store helps you draw in more visitors.
Providing a friendly user experience requires images, yet poor image management can negatively impact the performance of your website.
Your site’s web vitals—important metrics that Google uses to evaluate page performance—may suffer as a result of poorly optimized images since they might cause slower load times and increased bandwidth usage.
This article will cover practical methods for enhancing SEO performance and optimizing photos for the web.
What is Image Optimization?
Image Optimization is making sure your photos load quickly on desktop and mobile devices without sacrificing quality. This involves preserving image quality while modifying the size, resolution, and format of each device.
Use the appropriate Export settings in Photoshop throughout the creation process or directly on your website by employing strategies like lazy loading to display photos when needed.
Why is Image Optimization Important for the Web?
It’s important to make sure your website loads in less than two seconds because web consumers have short attention spans.
Even on the greatest servers, images frequently cause delayed loading. The user experience is improved by optimizing photos, which lowers file size and speeds up load times.
Furthermore, if your hosting plan has bandwidth limits, unoptimized photos may result in overage penalties or website delays due to the consumption of server disk space. Optimizing photos may prevent these problems and make the most of storage.
Key Factors to consider for Image Optimization:
High Quality:
High-quality photos are bright and visually appealing, allowing the smallest features of a product to be seen clearly. To enable zooming on product pages and enable buyers to examine each feature in detail, they should have a high resolution. The user experience is enhanced, and users’ trust in the website is increased.
File Name:
Many picture files have general titles by default, such as “IMG_12345,” which are of little use to consumers or search engines like Google. It’s important to give each image a meaningful name that helps Google understand its content. The visibility of your image in search results can be greatly increased by taking this one step.
Image Dimensions and Formats:
Optimizing file formats and image sizes is vital for SEO and user experience. Website loading speeds can be slowed down by oversized visuals, which could lower search engine results. Increase loading times and boost overall SEO performance by using image compression techniques and choosing suitable formats, such as JPEG or WEBP.
Accurate Description:
Images should accurately express important details like features, color, size, and form and match the product description. In order to maintain consistency between what is displayed and what the consumer receives, they have to represent the product accurately.
Consistency:
Maintaining visual consistency is essential to building a professional website. For the site to be visually attractive and make an impression, the images should all have the same tone, color scheme, lighting, and style. Building trust and giving your website a smooth, businesslike appearance are two benefits of matching user preferences with your visuals.
Be Different:
To make your page stand out and remain competitive, each image on your website should be distinct. Customers are drawn to unique pictures, which encourage them to browse your products and stay on your website longer. This increases the value and uniqueness of your brand, promoting repeat business and consumer loyalty.
Top 10 Image Optimization Hacks For SEO:
1. Choose Right Image Format:
A file size reduction of up to 80% can be achieved by choosing the right image format, which can speed up load times and increase conversions by 7% for every second of improvement. The proper format improves your website’s functionality and appearance. For best performance, think about using WebP, PNG, or JPG formats.
JPG or JPEG Format:
JPEGs display millions of colors while maintaining a tiny file size, making them ideal for images. Their technique minimizes the file size by eliminating certain data, which makes them ideal for e-commerce websites with a large number of photographs.
However, if you require precise details or incredibly accurate colors, they might not be the ideal option.
PNG Format:
Although PNG files are larger than JPEG files, they offer superior quality. They are ideal for showing minute details or enabling users to enlarge product photos. Additionally, transparent backgrounds are supported by PNGs, which increases your website’s display options for product photos.
WEBP Format:
Google developed WebP, an updated image format, to take the role of JPEGs, PNGs, and GIFs. It provides high-quality images, with lower file sizes and support for animations and transparent backdrops.
WebP images might be up to 34% smaller than JPEGs, according to Google. This format is a fantastic option for your website because it reduces file size while maintaining image clarity.
2. Resize Images Before Uploading:
One easy and efficient technique to optimize photographs for your website is to resize them before posting. For instance, if you submit images with a resolution of 1024 x 1024 in the place of 750 x 750 pixels, the additional pixels will merely make the file larger and cause your site to operate more slowly.
You may decrease file size, speed up load times, and free up disk space for more material on your website by cropping or reducing image size before uploading.
3. Add Descriptive Alt Text:
A picture’s alt text appears as a description in the event that the image fails to load. Both SEO and accessibility benefit from it since it makes the image easier for Google to interpret. You can ensure that everyone can use your website with ease by using simple and clear alt text.
For instance, the alt text for an image of a red sports car could read, “Red sports car parked on a city street,” which would make it obvious to both viewers and search engines what the image is.
4. Compress Images for Better Efficiency:
Images that are compressed have smaller sizes, which speeds up the loading of your website. On the internet, there are numerous image compressors. Finding a balance between file size and image quality is the aim; merely reducing the image size isn’t enough.
Compressing the picture before uploading guarantees a smaller file size without lowering quality, provided that the image has been cropped and saved in the appropriate format.
The user experience can be greatly enhanced, and page loading times are accelerated by compressing, for instance, a 2MB image to 500KB without observable quality loss.
5. Avoid Including Important Text in Images:
To boost your SEO and ensure accessibility, always include important text, such as keywords, in the HTML rather than inserting it in images.
In this manner, Google can read the text and improve the ranking of your page. Visitors can also highlight or copy the material if necessary, and screen readers will be able to access it.
Your viewers will still be able to access your message even if the image does not load. Make sure your important text appears in the HTML to avoid losing out on these opportunities.
6. Use Responsive Images:
Use the HTML ‘srcset’ attribute to make your website quicker and more user-friendly. Responsive Images assists in providing the appropriate image size based on the screen size and device. For instance, smaller displays will display smaller images, improving performance and speeding up loading times.
You can specify different image sizes for different screen widths by adding the ‘srcset’ and ‘sizes’ attributes to your images. This will save bandwidth and ensure that your site functions properly for all users.
7. Create Image Sitemap:
Although they aren’t mandatory, image sitemaps can be beneficial for larger websites. Images that might go unnoticed are found by Google, thanks to these sitemaps. For example, without an image sitemap, Google might have trouble; indexing images loaded through JavaScript.
It’s vital to create an image sitemap in accordance with Google’s stated recommendations. There are a number of image sitemap plugins for WordPress that can make the process considerably simpler than creating one from scratch.
8. Enable Lazy Loading:
One easy method to increase the speed of your website is to use lazy loading. It is a method where images, videos, and other media are not loaded until the user scrolls to that section of the page. This improves the user experience for visitors and speeds up your website’s loading.
You don’t need additional plugins if you’re using WordPress because lazy loading is already integrated. However, plugins like Lazy Load by WP Rocket or a3 lazy load can help if your theme doesn’t support it or if you want more flexibility. You can adjust the settings and speed up your website with Lazy Load.
9. Avoid Excessive Use of Stock Photos:
Since stock photographs aren’t original, they are frequently overused and lack originality. According to research, using stock photos excessively can harm your brand’s reputation and search engine optimization (SEO). Real, realistic photos are the best way to convey the personality and distinctiveness of your business.
Stock photographs can seem distant and typical, even though they are useful in a time of need. They can damage the reputation of your brand because people frequently mistake them for stock.
10. Use Content Delivery Network (CDN):
A Content Delivery Network (CDN) is an effective way to increase the speed at which images load on your website. It shares the photos on your website among multiple servers globally.
When someone visits your site, the CDN sends the images from the server closest to them. This speeds up the loading of the photos and improves the user experience for all of your visitors.
The CDN rapidly distributes photos from nearby servers to users rather than making them wait for large or high-quality images to load from your main server.
Image Optimization Tools:
TinyPNG:
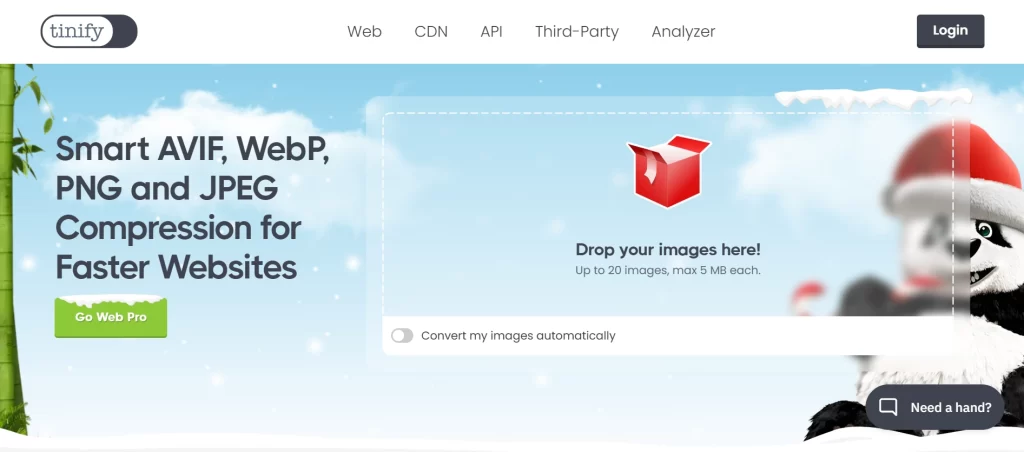
TinyPNG is a great tool for image compression. You can speed up your website and save time by compressing up to 20 images at once with the free version. You may reduce the size of your photos without compromising quality using this efficient tool.

Anywebp:
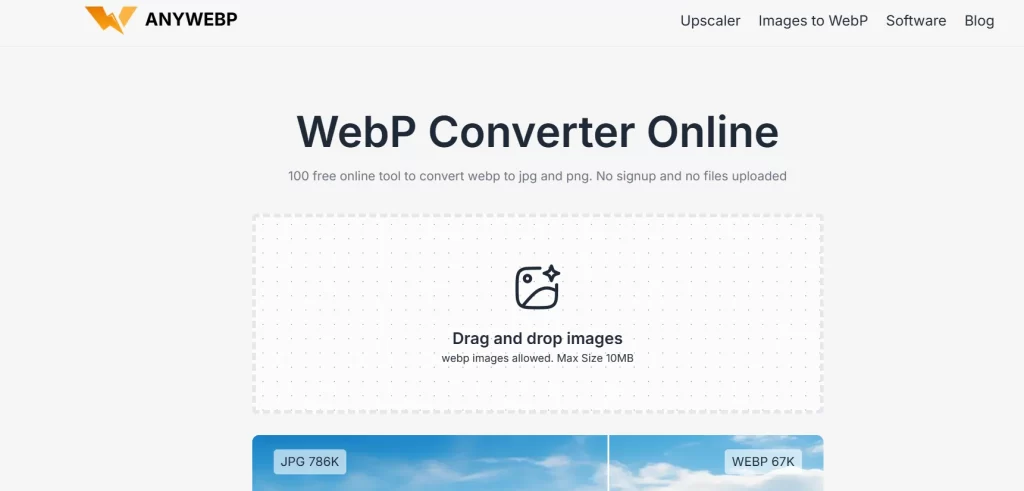
WebP photos can be converted to JPG, JPEG, PNG, and ICO formats with Anywebp, a simple and free tool. You can download the PC version, which is compatible with both Mac and Windows, or use it online.

Squoosh:
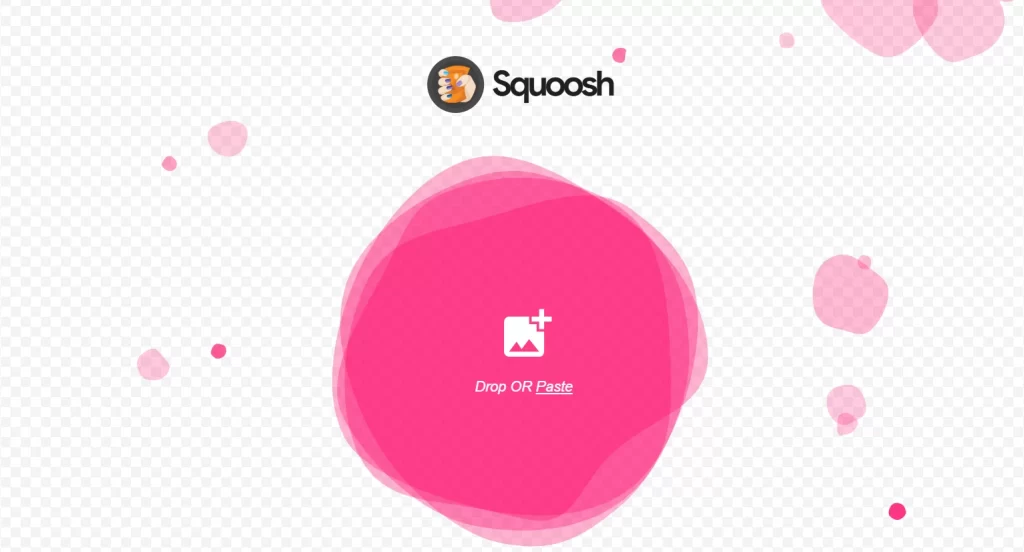
Squoosh is a basic web-based image compression tool. If you want to optimize your image, drag and drop it into the tool and select from JPEG XL, WEBP, PNG, and other formats. You may quickly and easily reduce the size of your photos without compromising quality.

Pixlr:
Pixlr is a great substitute if Photoshop is not available. It is simple to use and allows you to compress photos, add effects, and resize images in one location. It’s a basic, free tool that allows you to enhance the appearance of your photos without the need for complex software.

Bottom Line:
Your site’s speed and performance will increase rapidly with the correct image optimization techniques, giving your users a smoother online experience. It is important to stay updated to boost your business digitally and stay ahead of the competition. Contact Us, the best website development company, to develop a custom and high-performance website.


